
My son asked me if I could help him build a Minecraft server for him and his friends to play on. Rather than having it hosted on his machine or some of my kit, it seemed the most sensible place to put it would be a cloud hyperscaler like Azure. Also, if we could keep the cost down, we might be able to make it so that a free-tier Azure offering could last them for quite a period of months. So we set off to build it – here’s the method we used.
Note – this post is really for Shane O’Neill, who asked me to document this for him when I was at the Irish User Group in Belfast last week, so here you go mate 🙂
Basic server setup
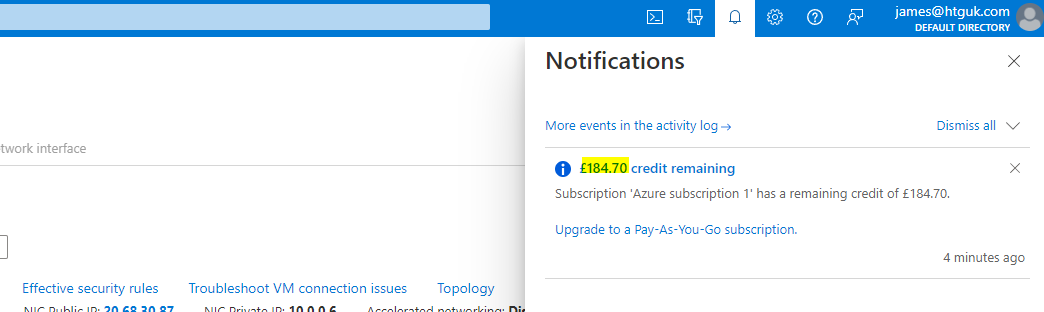
Firstly, you need to sign up for an Azure account and get your free credit, which I believe is about £185 or something like that. So make sure you sign up for Azure (you will need to provide some card details, obviously). Even once the free credit is used, we’re trying to keep the cost down so it should ideally be no more than a few dollars per month.
Go into your Azure portal once you’re signed up, click on Virtual Machines, and click Create | Azure Virtual Machine
Select the options as below
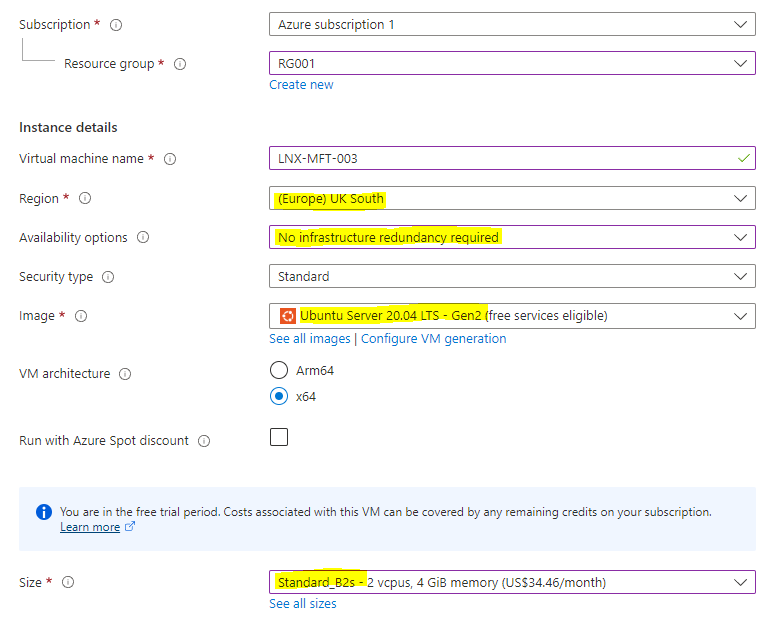

I have selected the option to use B2 size but B1 may prove adequate if you’re trying to save credit. We’ve allowed SSH publicly but will change that later.
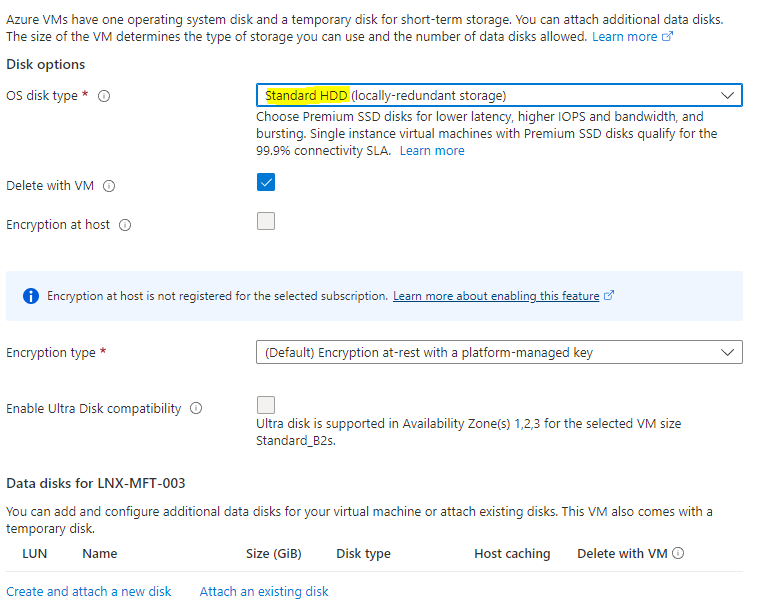
I also switch the disks to Standard HDD as below, Minecraft isn’t usually too intensive
Networking options leave at the default
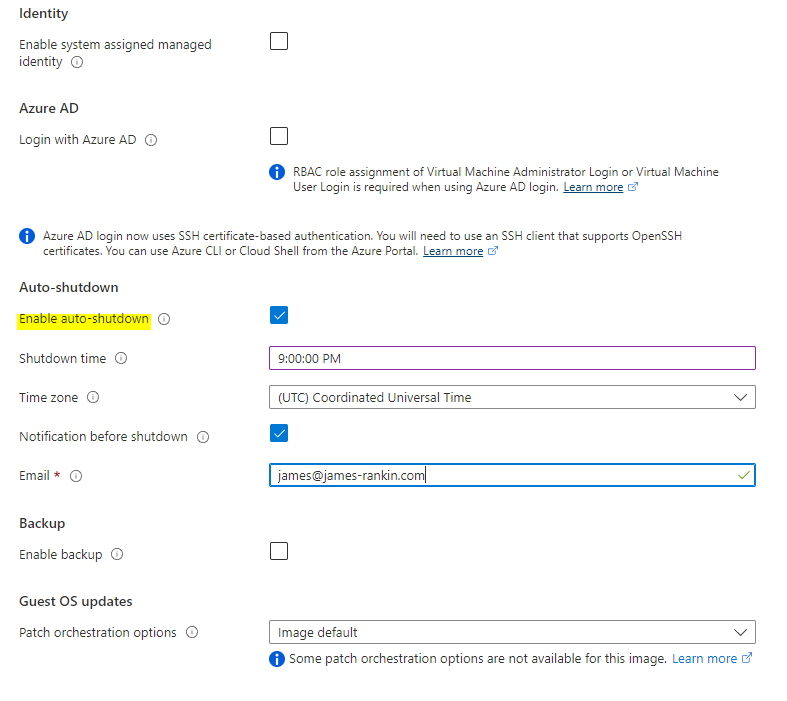
For management options, it makes sense to enable auto shutdown as below, as no doubt children are good at forgetting to power things off when they’re finished 🙂
Nothing needs configuring for monitoring, so you can proceed to Review and Create and then click Create to deploy the VM
Click on Download private key and create resource and it will save your key to the local machine, make a note of where it is located as you will need the path to the key when connecting

Deployment will then proceed
Once this is complete, go to your resource, and then click Networking. Click on the SSH rule and change it so that only certain IP addresses can access via SSH. Changing this to your specific location will limit the IP addresses or ranges that can connect via SSH.
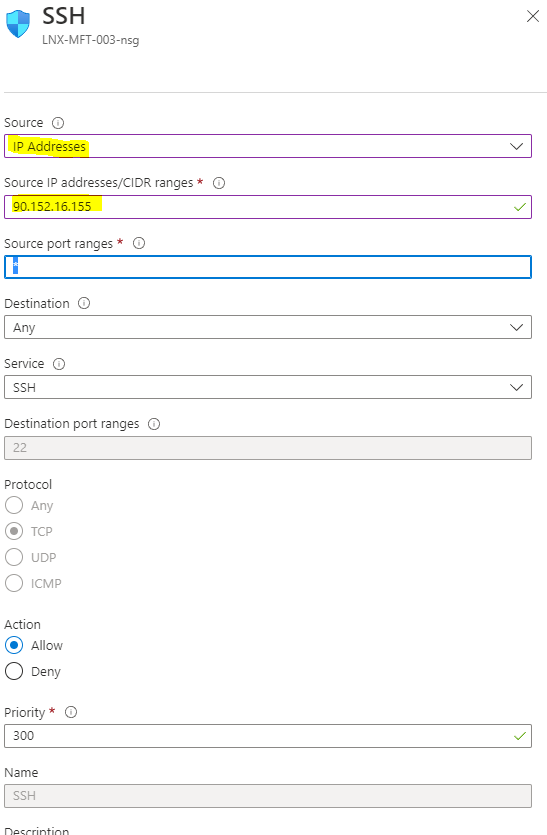
Once this is saved, make a note of your public IP address

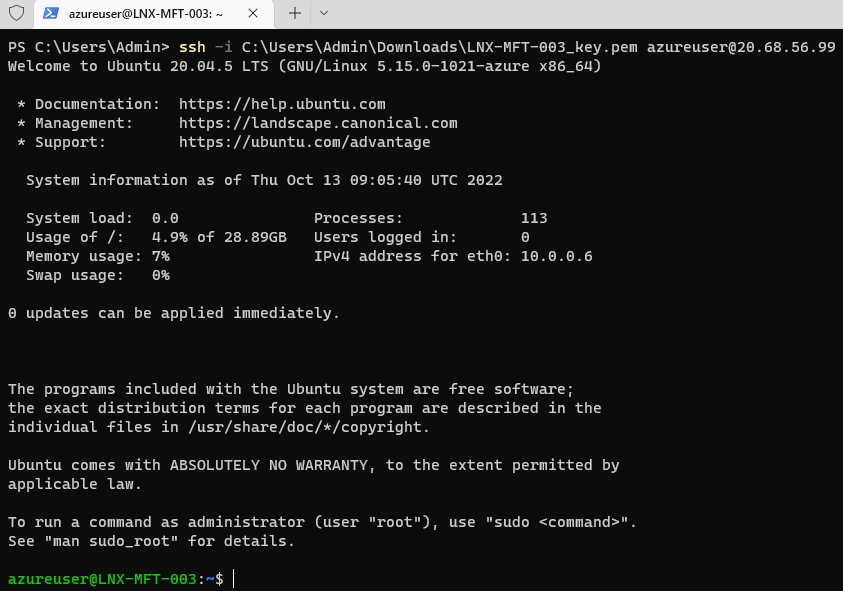
You can launch a connection by running Windows Terminal (or whatever your SSH client of choice is) and specifying the following command line, substituting your public IP address as necessary and the path to the .pem file you downloaded earlier
ssh -i C:\Users\Admin\Downloads\LNX-MFT-003_key.pem azureuser@20.68.56.99This will open a connection to the remote VM
Upgrade to the latest Ubuntu release by running the following command
sudo do-release-upgrade -dThis might take a while and may involve some responses to interactions on the console
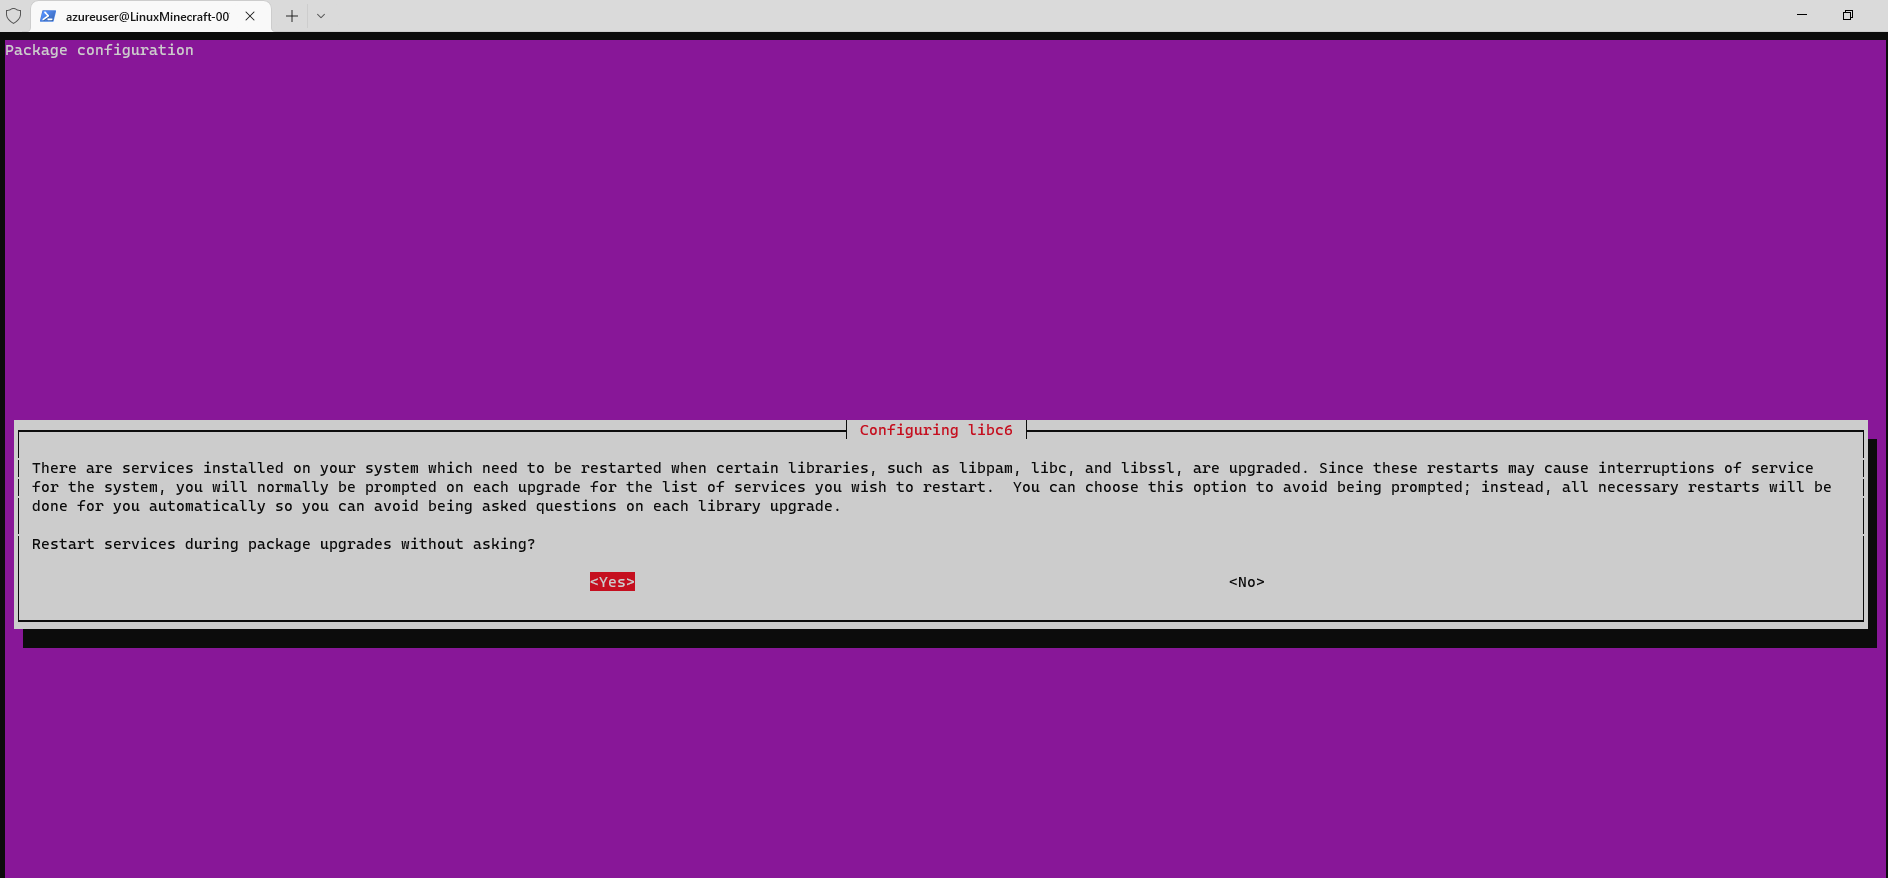
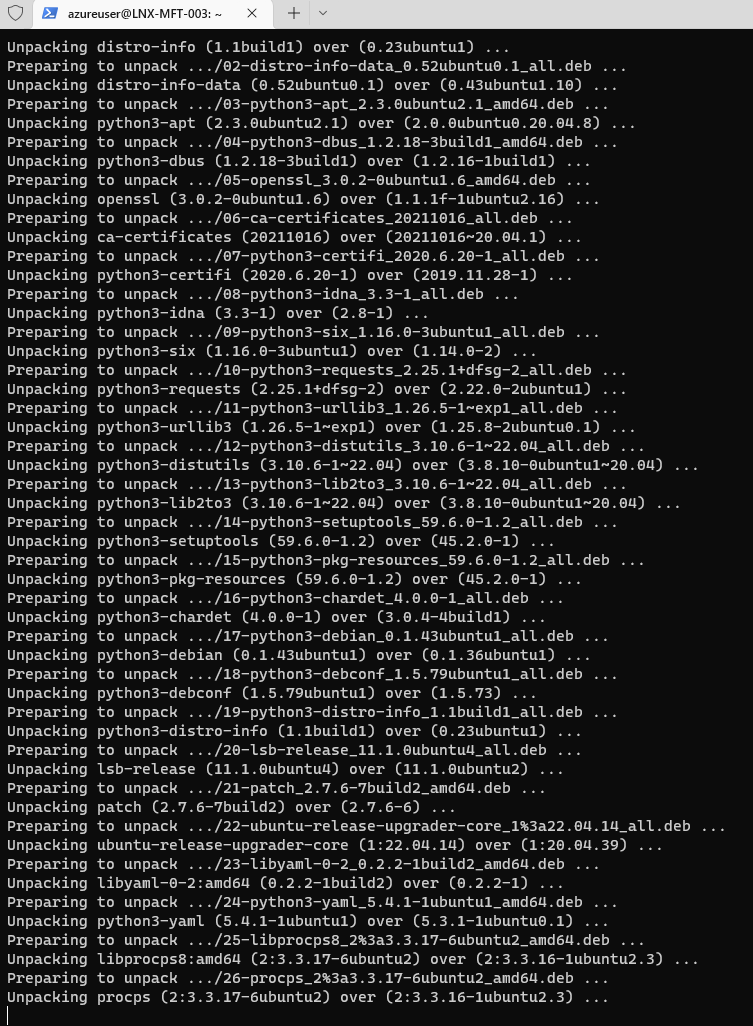
Once this is all completed, you will probably need to restart the system, so let that complete (and then be amazed how quickly an Ubuntu VM boots compared to Windows)
You then just simply need to reconnect to the SSH session via Windows Terminal and then run this set of commands to update your apps, install the required apps for Minecraft and open the firewall for Minecraft traffic
sudo apt update
sudo apt install openjdk-17-jre-headless
sudo apt install screen
sudo ufw allow 25565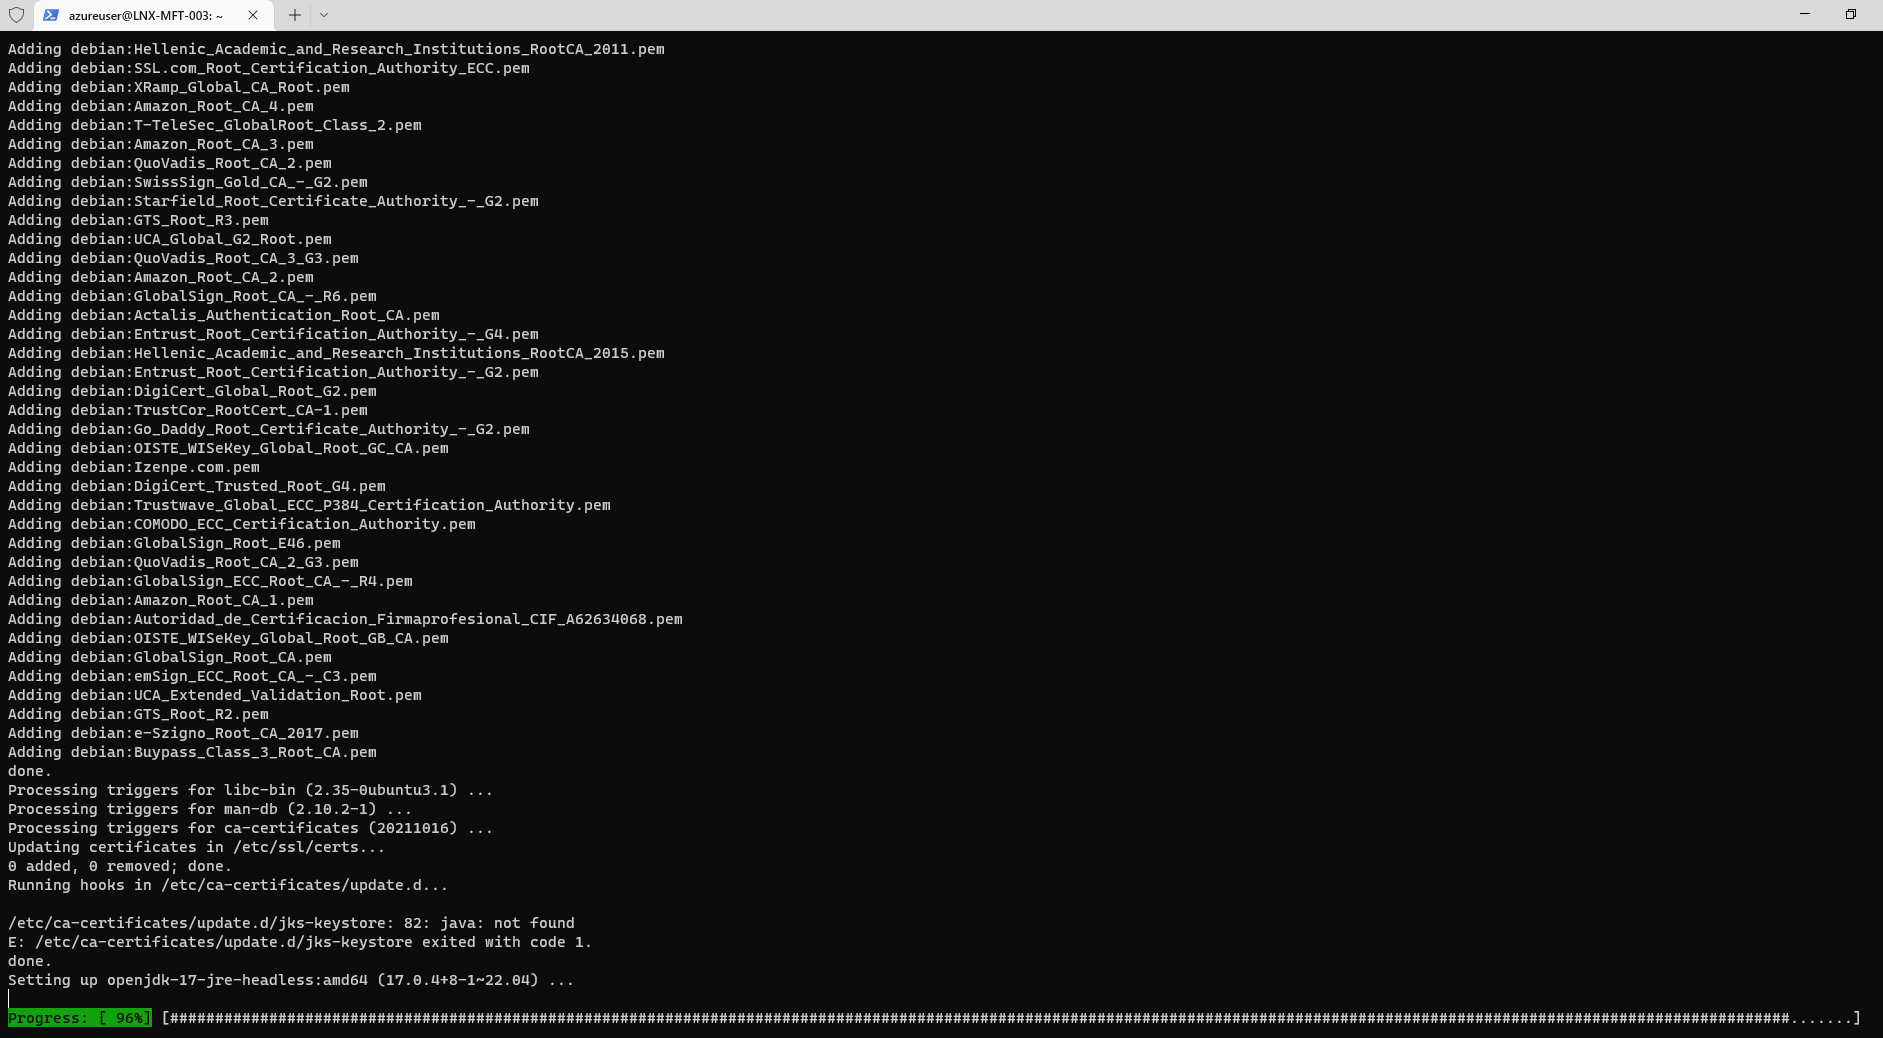
Again, marvel at the speed at which you can get everything updated to the latest versions
Now you need to find the link to the latest Minecraft server version. I simply browse to the following page – https://www.minecraft.net/en-us/download/server – right-click on the Download link and choose Copy Link Address.
Then run this command, switching the link you copied for the link here (which was the latest server version link at time of writing)
wget https://piston-data.mojang.com/v1/objects/f69c284232d7c7580bd89a5a4931c3581eae1378/server.jarThis will download the latest Minecraft jar file into the current directory on your VM with the name “server.jar”.

I prefer to rename it so I know which version of Minecraft it is referring to (so substitute the version number in the command below to the version you downloaded)
mv server.jar minecraft_server.1.19.2.jarNow run the “screen” command
And then run the Minecraft server (make sure the jar file name matches that you renamed it to)
java -Xms1024M -Xmx1024M -jar minecraft_server.1.19.2.jar noguiThis will generate the error below, so don’t worry

use a text editor (such as nano) to edit the eula.txt file and replace eula=false with eula=true
nano eula.txt
If you’re using nano, it’s Ctrl-O and [Enter] to write the file, and then Ctrl-X to exit
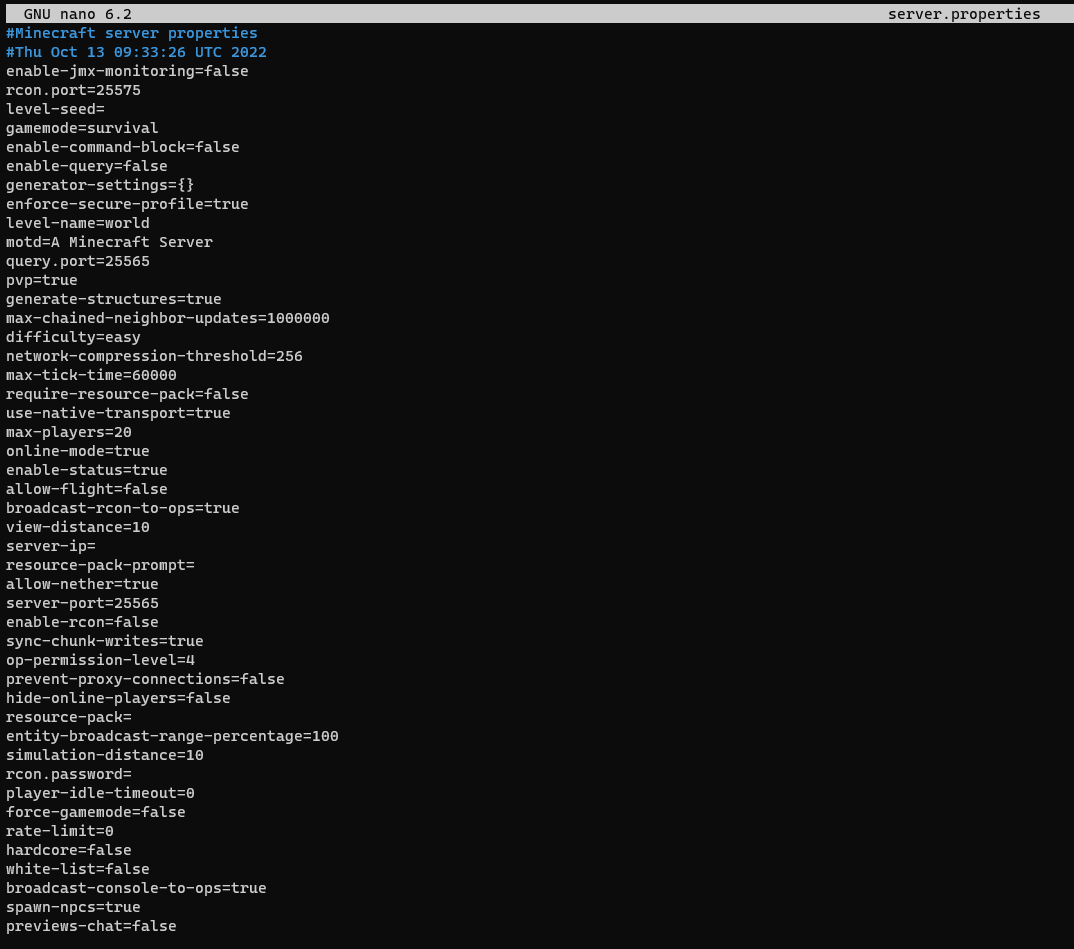
You can also use nano to edit the server.properties file in the same directory
nano server.propertiesThere are many configurable items in here, the pvp level, difficulty, gamemode (my kids often switch between survival and creative), the server port, etc. Customize as required.
Now just run the following command again to start the Minecraft server
java -Xms1024M -Xmx4G -jar minecraft_server.1.19.2.jar noguiNote that we have changed the parameters on the java command now to use more memory, you can customize the command line that launches the Minecraft server as required.
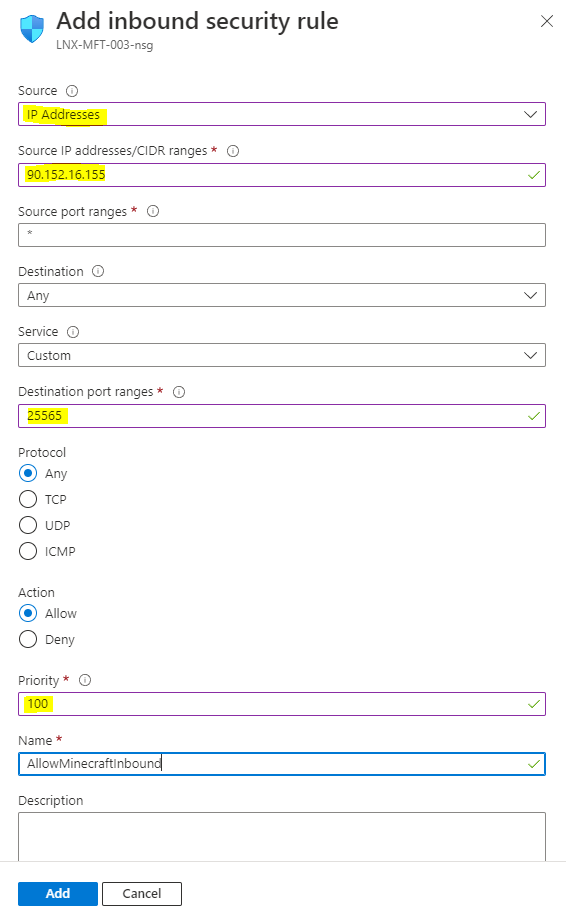
Next, simply allow inbound Minecraft traffic in Azure by creating a new network inbound port rule. Again, it would make sense to restrict it to certain IP addresses or ranges. Getting your kids and their friends to find their public IP addresses will no doubt help keep the inbound traffic safe.
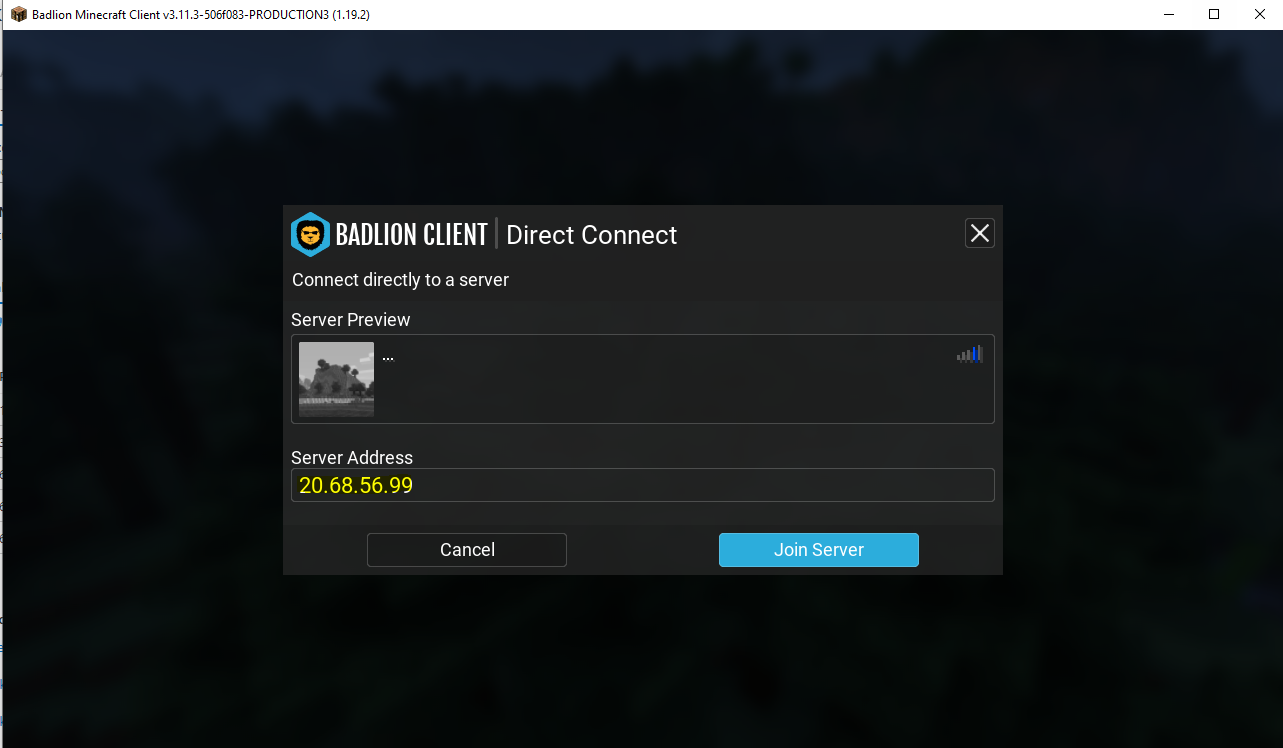
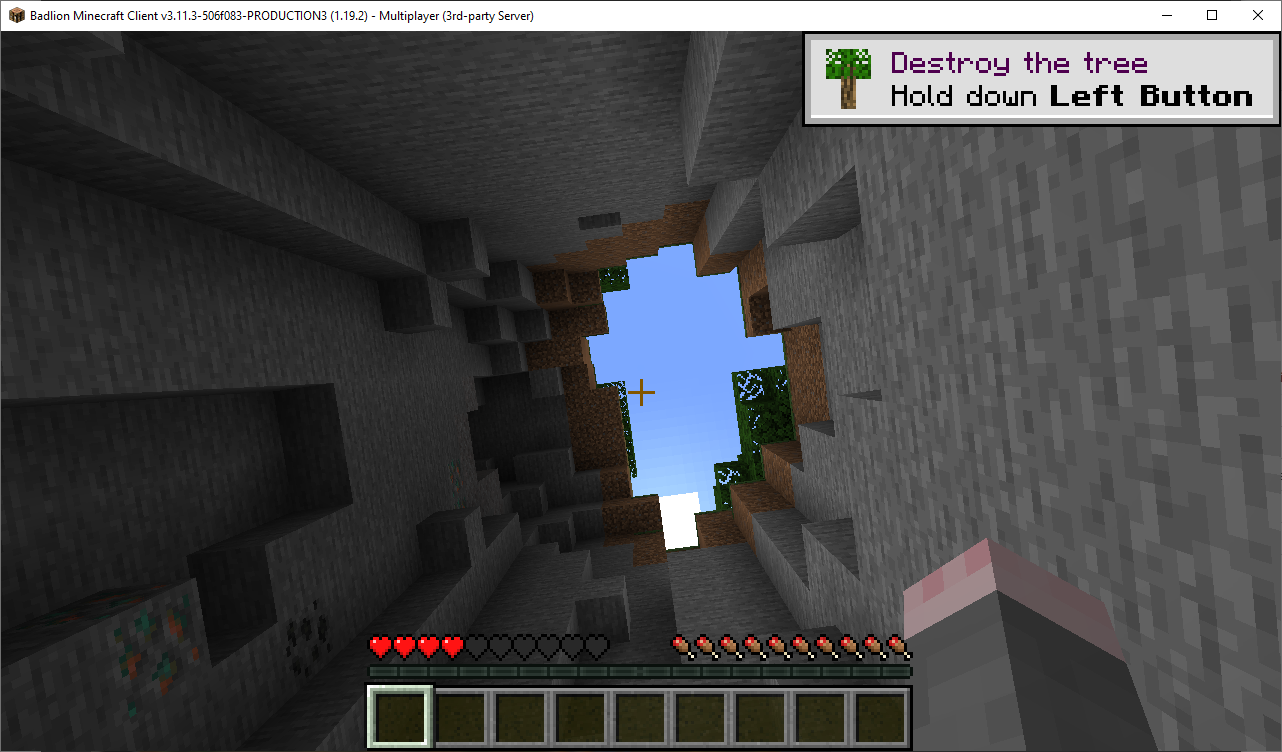
If you’re not wanting to have Minecraft start automatically at boot, you’re now just about done. Simply save the inbound port rule, fire up a Minecraft client, and give it the public IP address of your Ubuntu VM to connect to.
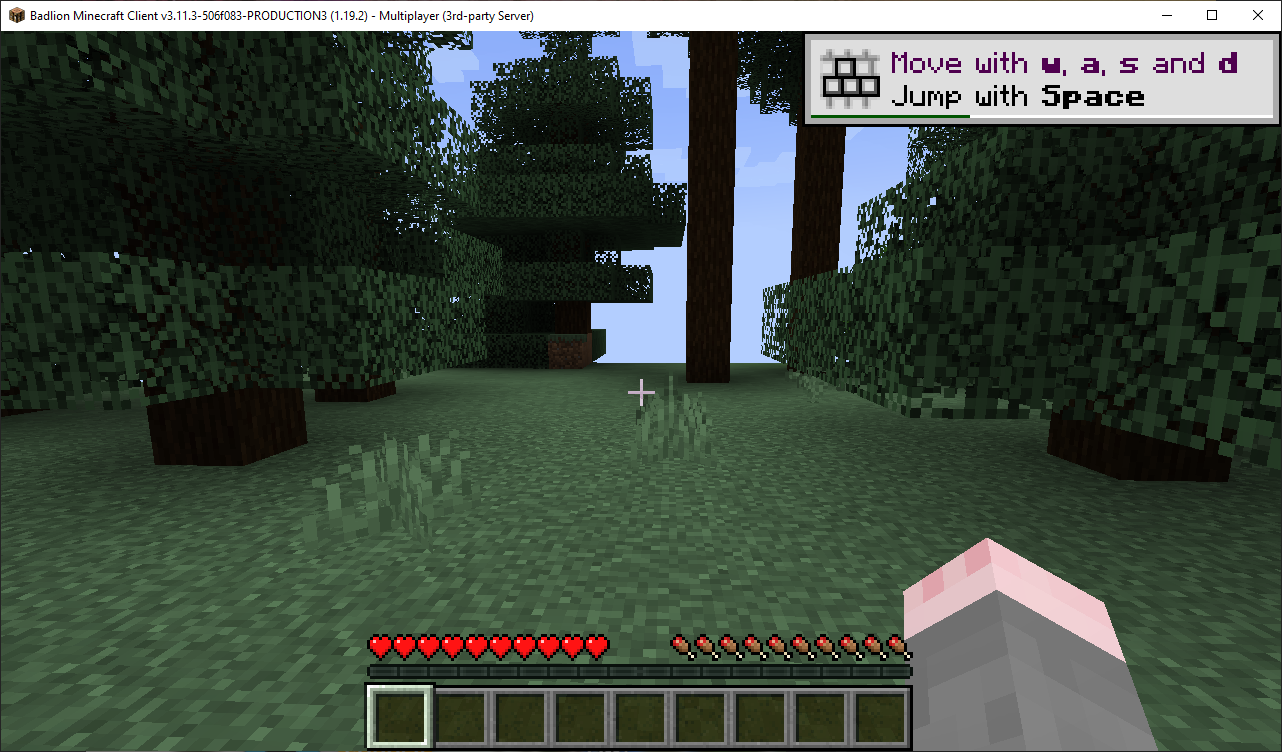
Once you’ve done this, it should log in fine and now your kids can play Minecraft on their server

Now, the obvious flaw with this is that once you start the VM in Azure, you need to log in using SSH with the .pem key via a command line, run screen, and then run the command above to start the Minecraft server. If you’re happy with this, then fine; you’re done!
If you’d rather just start the VM and have Minecraft launch automatically at boot, follow these additional instructions.
Starting Minecraft at VM boot
Log in via SSH
Run these commands
sudo mkdir /home/minecraft
sudo mv eula.txt /home/minecraft/eula.txt
sudo mv server.properties /home/minecraft/server.properties
sudo mv minecraft_server.1.19.2.jar /home/minecraft/minecraft_server.1.19.2.jar
These will copy the config files to the /home/minecraft directory along with the jar file which we downloaded earlier.
Now run the following to create a file in systemd
cd /etc/systemd/system
sudo touch minecraft.service
Next we need to edit the minecraft.service file
sudo nano minecraft.serviceIn nano, paste the following content into the file
[Unit]
Description=Start Minecraft
After=network.target

[Service]
Type=simple
ExecStart=/root/start_minecraft_server.bash
TimeoutStartSec=0

[Install]
WantedBy=default.target
Save the file, and now we run the following
sudo chmod +x /etc/systemd/system/minecraft.service
sudo touch /root/start_minecraft_server.bash
Now edit the script file
sudo nano /root/start_minecraft_server.bashAnd paste the following content into the editor (you can edit the java command as required)
#!/bin/bash
#Standard Minecraft
cd /home/minecraft
exec java -Xms1024M -Xmx4G -jar minecraft_server.1.19.2.jar nogui
Save the file and exit, then run the following commands
sudo chmod +x /root/start_minecraft_server.bash
sudo systemctl daemon-reload
sudo systemctl enable minecraft.service
sudo systemctl start minecraft.service
sudo systemctl status minecraft.service
If all is successful, you should see output like this from the status command
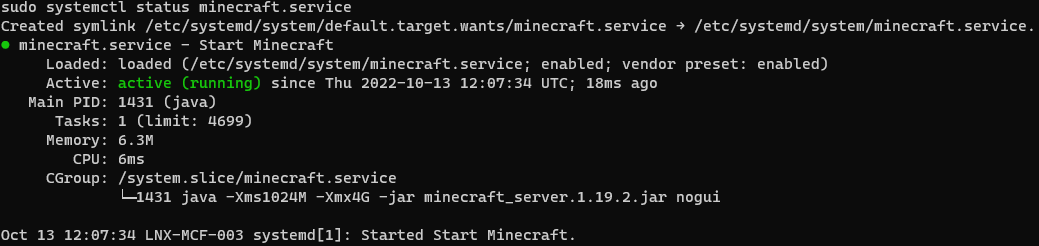
Now reboot the system (sudo reboot) and you should be able to connect to the Minecraft instance on the IP address as soon as it boots without any interaction
If you’re careful with the auto-shutdown and how and when you power it on, an instance like this should be able to last quite a while without any costs – and even if you want to keep it going for longer, they should be minimal – easily pocket-money-sized. I built four instances of this server and ran it for a good few hours testing the performance and only put a 30p-sized dent in my credit.
A quick note – if you want to create a new world, simply rename the world file in your folder (whether that’s the standard root or the folder we created for auto-start) to world.old and you should be golden (example below)
sudo mv /home/minecraft/world /home/minecraft/world.oldPlease don’t send me stacks of Linux- or Minecraft-related queries in the comments – neither of these are my strong points (although I may become more Minecraft-savvy in future).
So there you go (mainly for Shane, but I hope others might find it useful too). We should have some more “proper” EUC-focused stuff here soon, so stay tuned.
![]()
James, this was a great help. Do you have any guidance on installing Forge and mods ? This would be a great supplement to this post.
I’d have to touch base with my son 🙂 Let me see what I can find out
How do I access the console if my server is running in this way?
Bastion, IIRC