
I’ve been doing a lot of MSIX application deployment recently (I’m late to every party, don’t you know). In case you missed it, MSIX is Microsoft’s new application deployment technique that looks like the unholy lovechild of a three-way tryst between UWP, App-V and FSLogix. As we move towards a newer, shinier cloud-based future, it makes sense to try and focus on packaging to newer standards – that hopefully have more longevity than UWP itself did.
I choose to use AppVentix (formerly the App-V Scheduler) to complement my MSIX deployments, because it allows you to deploy and convert them far more easily. Specifically, this week I have been creating MSIX packages from scratch, converting App-V 5 packages into MSIX, and also deploying my new MSIX packages out to all sorts of target devices. I thought I would document my findings up here for my own reference, and also for anyone out there who might be considering venturing down any part of this route any time soon.
MSIX generally requires Windows 10 2004 or Server 2022 or higher, but if you are packaging using MSIX Core you can deploy to older operating systems as far back as Windows 7 SP1 or equivalent Server OS.
Creating an MSIX package
I have lots of customers who still rely on MSI, so creating MSIX packages from MSI sources was obviously of interest to me. How difficult is it to convert my existing MSIs and/or source files into the new format?
Firstly, you need the MSIX Packaging Tool installed somewhere. You can install it from this link.
Secondly, you need a packaging machine (which I am simply going to refer to as a “sequencer” from now on, because I’m old and steeped in App-V for the last seventeen years or so, so please excuse me if this terminology is incorrect). Those of you familiar with application packaging of any sort will know the drill. Create a clean machine with your “lowest common denominator” operating system on it, and keep it as spartan as possible – fully patched, but no software on it at all. It’s up to you whether you join the domain or not (I do), but if you do join a domain, make sure there are no GPOs applying to it (an OU with Block Inheritance configured will do the job here).
Once you’ve built it as “vanilla” as possible, take a snapshot, as you may use this machine quite a lot. You will want to revert to the snapshot and then patch it every month, before taking a new snapshot, but otherwise, don’t let it get polluted by anything. Don’t even install something like antivirus – keep it totally clean.
Next, you’re ready to start running the MSIX Packaging Tool.
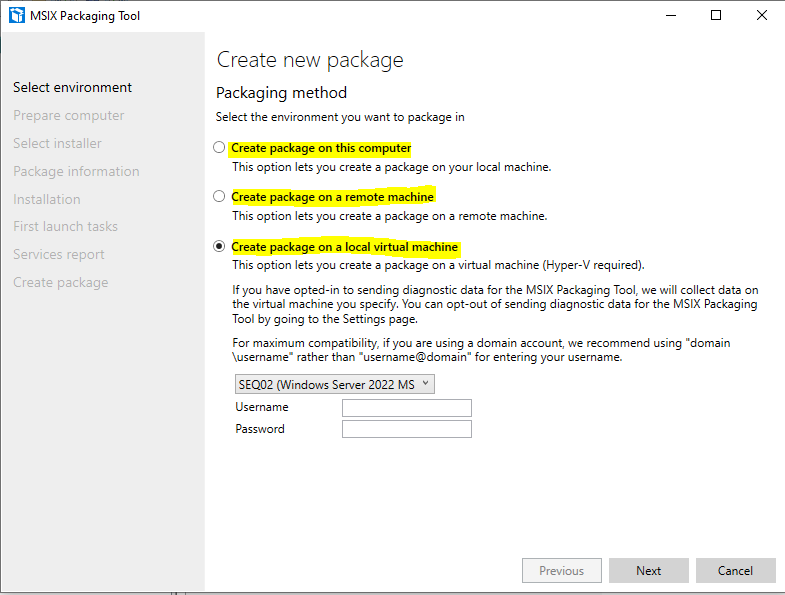
When you run it, you can choose from creating the package on this computer, a remote computer, or a local VM using Hyper-V. If you’ve installed the MSIX Packaging Tool on your sequencer, choose the first option. If you want to run the packaging tool locally and connect to a remote sequencer, choose the second option. If you want to run it locally and use a Hyper-V VM instance, choose the third option.
If you choose the second option, the remote machine needs PowerShell remoting installing. You can enable this by running the following command on the remote machine
Enable-PSRemoting -Force -SkipNetworkProfileCheckIf you choose the second option and your remote sequencer is non domain-joined, you need to create a certificate on the remote machine and install it on the local one.
Also, if you’re using a remote machine and it is in Azure (or other cloud service), then make sure that you are allowing traffic on the port that the Packaging Tool uses (1599 by default, but you can change it in the tool).
If there are other problems connecting when using the second or third options, ensure that the WinRM firewall ports are opened as well as those configurations mentioned previously.
I generally choose the third option as I have been a Hyper-V user for a while – choose whatever works for you.
Next, you need to supply credentials for the machine (assuming you’re using a remote one) and it will connect via RDP to the specified sequencer. This can take a while in some environments.
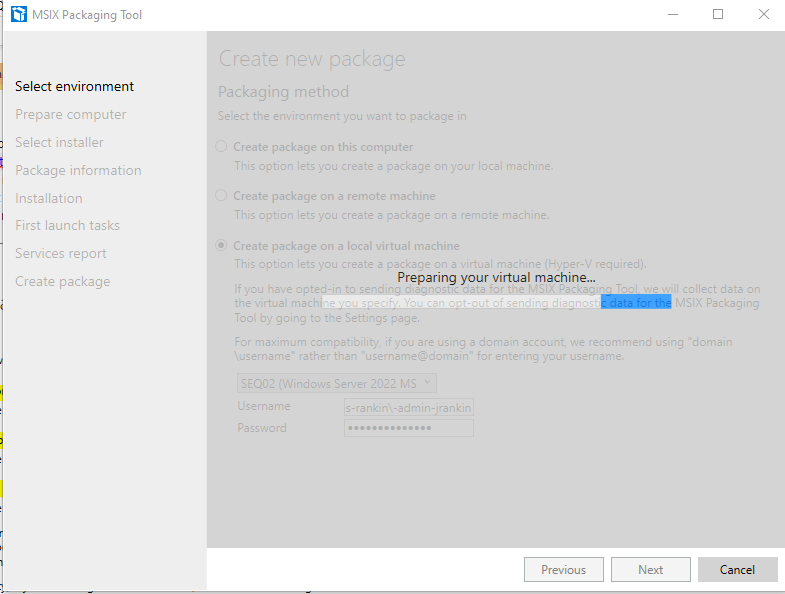
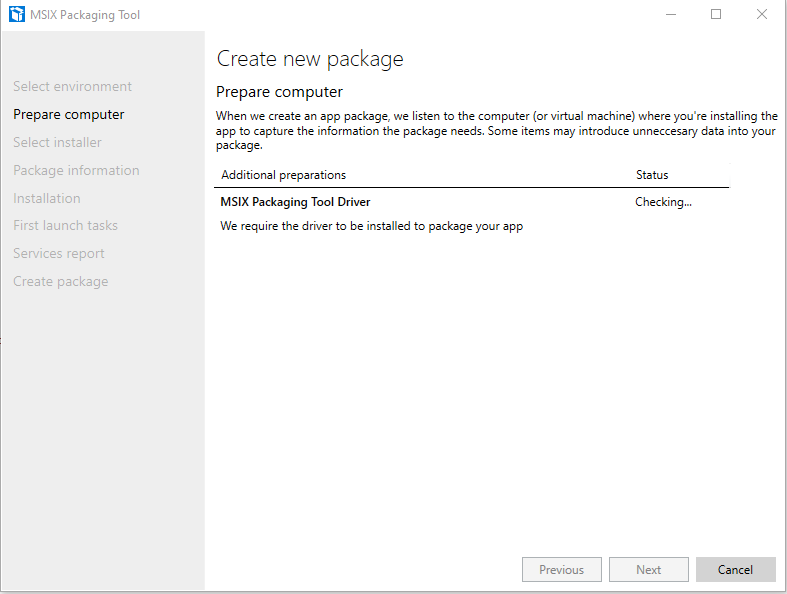
The tool will also install the MSIX Packaging Driver at this point (this can also be time-consuming sometimes)
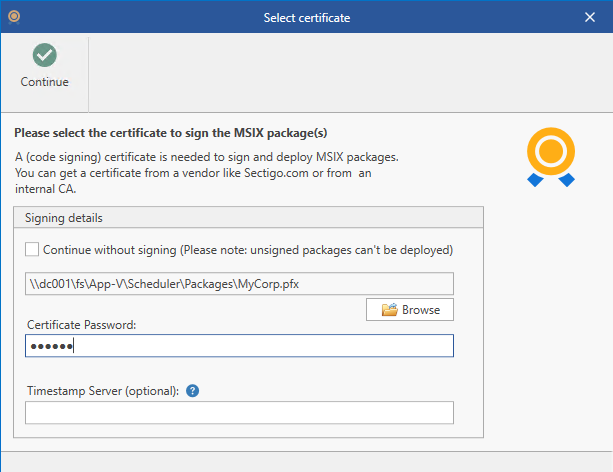
Next, select the source installer you wish to use, and optionally, a certificate to sign it with. This is another reason I use AppVentix – AppVentix can create the certificate for you, and also automatically deploy it to your managed endpoints through the AppVentix content share. There are obviously other ways you can achieve this, or you can skip the signing certificate altogether, but I like to use AppVentix to make my life easier.
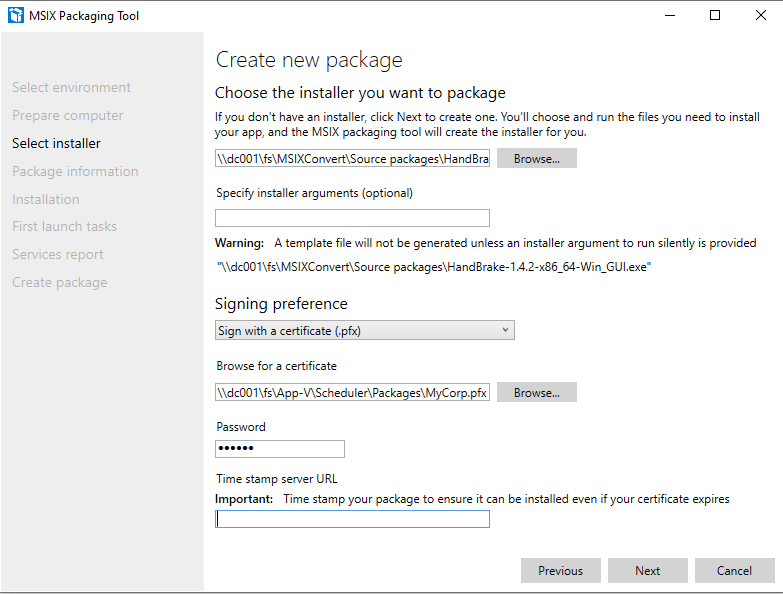
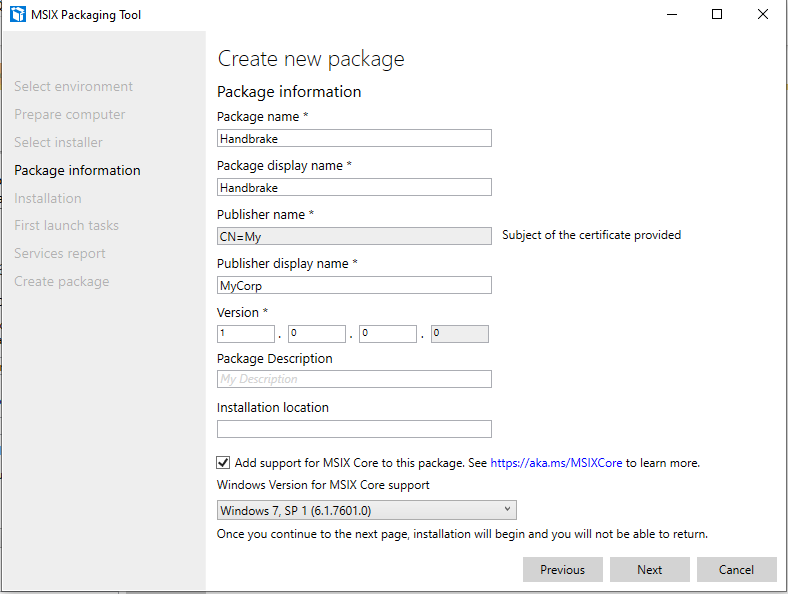
You then add the package name, publisher, version, and optionally choose whether you require MSIX Core as well. I always use the Core option as this means I can deploy my packages back to older OSes up to Windows 7 SP1 and equivalent.
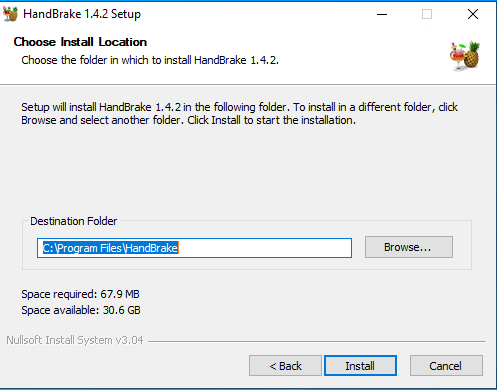
By now any of you who have done App-V sequencing are probably finding this whole process fairly familiar, and it only gets more familiar at the next stage, as when you click Next the installer you selected is run remotely on the target machine (or locally if you are packaging directly on the sequencer). Finish the installation as normal
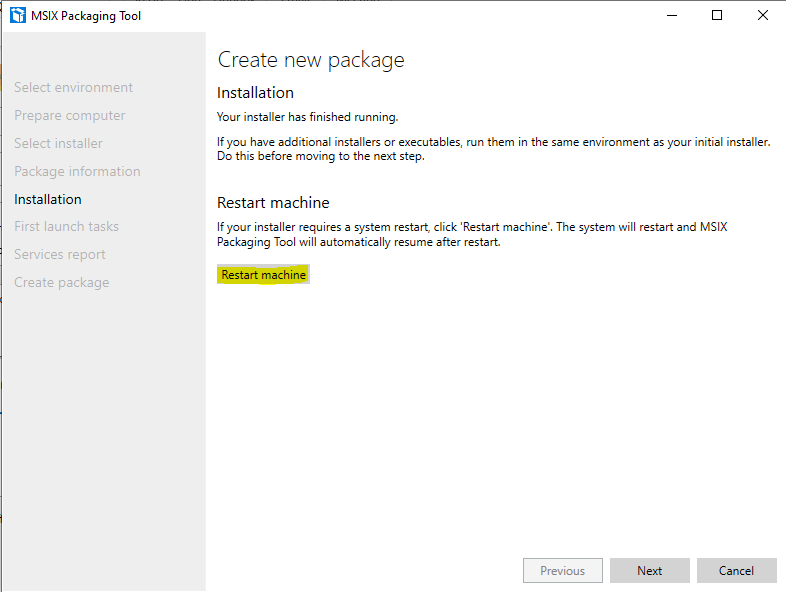
If the installation requires a restart you can trigger this from within the Packaging Tool, and the tool will then automatically launch again after the restart so you can continue capturing.
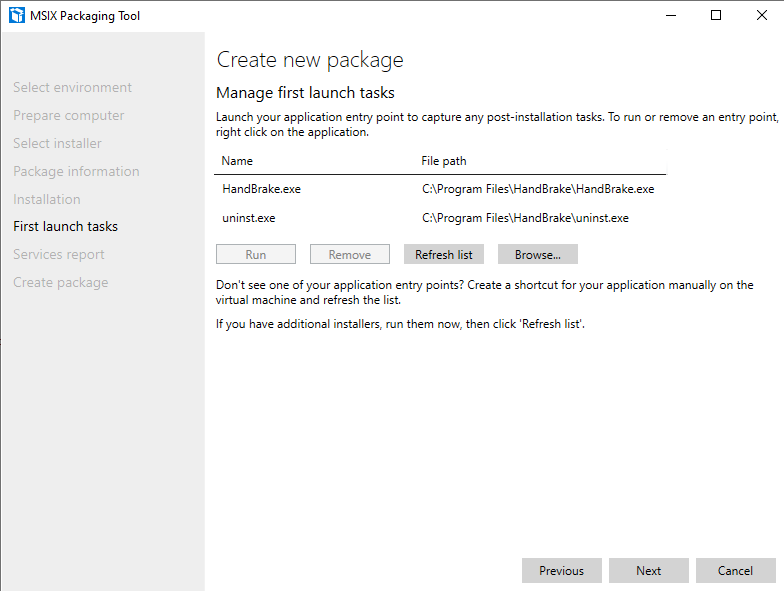
Once you’re finished installing the app and any pre-requisites, you can then run the programs that have been installed to capture any first-run tasks (for instance, Handbrake checks for .Net install at first launch). It is important to capture anything required here while the Packaging Tool is still capturing. You may also want to turn off auto-updaters and the like, unless you are managing these via policies.
It’s worth noting that the Packaging Tool seems to indicate that you can right-click the program entries displayed in its own interface and choose Run or Remove, but this functionality doesn’t seem to work (certainly at least when working on a remote VM). I start the programs and/or remove the shortcuts directly on the sequencer machine instead. I also tidy up any cruft that has appeared on there as a result of the installation.
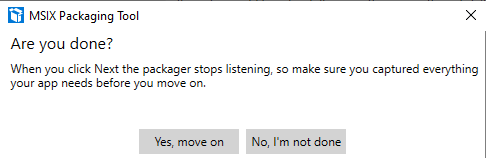
Next, confirm that you have finished the packaging process, so the capture can be stopped.
The package you have captured will now be prepared
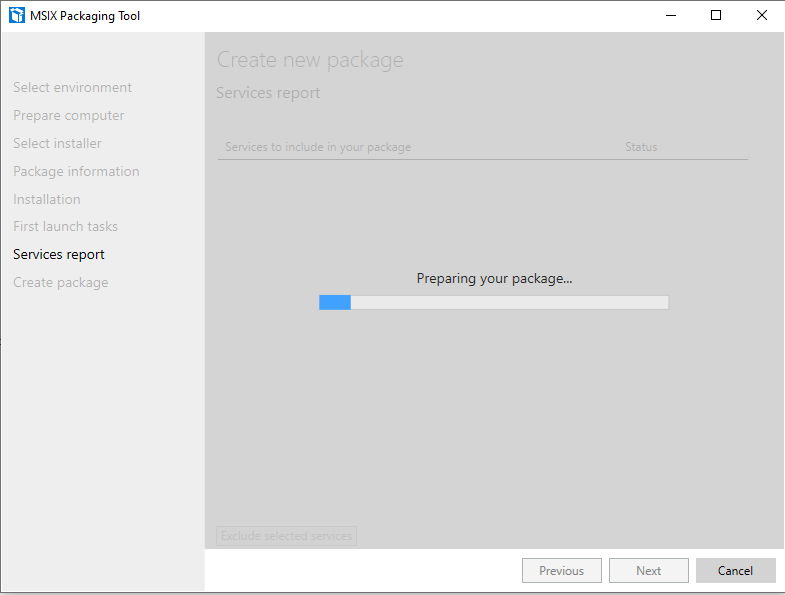
If any services have been installed, they will now be highlighted to you. Services can be problematic as if they are required in a package, they will only run on clients with a minimum version of 2004 (so Windows 10 20H1 or Server 2022).
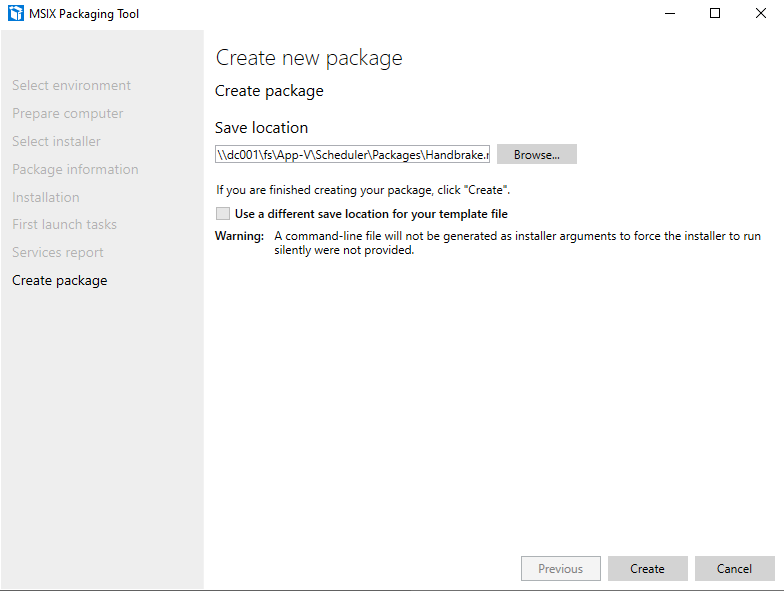
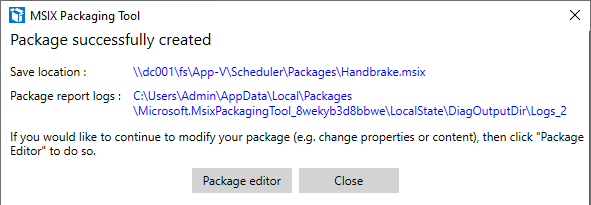
Finally, choose where to save your newly created MSIX package
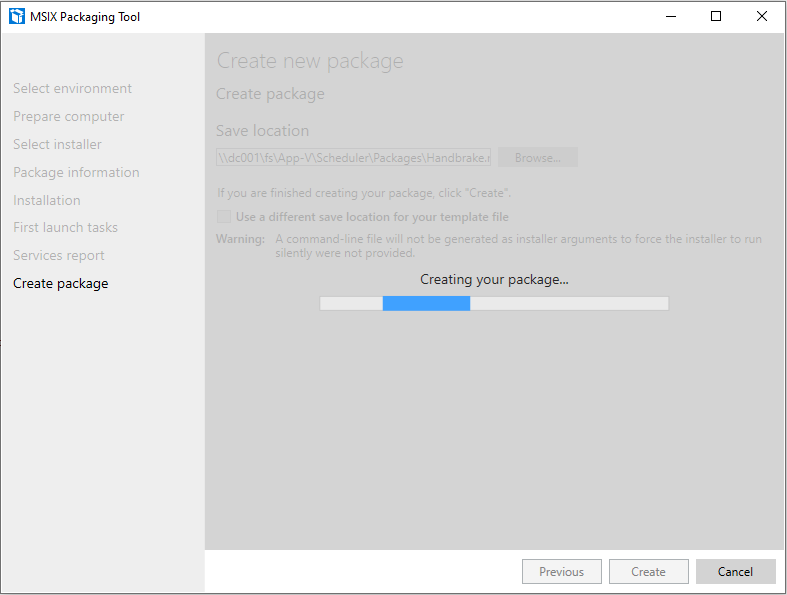
And finally it will be created and written to disk
You can update further if you wish by choosing the Package Editor option, or you can stop here. When using the Package Editor you can edit the manifest.xml file directly to remove parts of the app (like additional shortcuts), but be careful, if you get the XML formatting incorrect you will corrupt the file and make it unreadable to the editor, so taking a backup of the manifest file first is well advised.
Once you’ve finished, you can now revert the sequencer to the snapshot of the “clean” state and start on a new package.
That’s it – very similar to every other packaging method out there, and probably intimately familiar to anyone who’s ever spent any time with App-V.
Deploying MSIX packages
Now, you can simply bung your MSIX packages into a share and have the users browse to them and double-click them to install (assuming they have the App Installer application on the device where they are installing the MSIX packages). They will also need the certificate that you assigned to the packages installed and trusted on their device. You could push out the certificate with a line or two of PowerShell…
$cert = 'c:\tmp\MyCorp.cer'
Import-Certificate -FilePath $cert -CertStoreLocation Cert:\LocalMachine\Root
However, deploying the App Installer, pushing down the certificate, and getting the user to install the app from a share – this is all a bit of a pain in the proverbials. There are PowerShell methods for deployment, but again, not really admin-friendly. It would be nice if I had a way of managing the deployment centrally, that could push it to all my target machines based around parameters I defined…well, this is why I use the AppVentix method 🙂
It’s very straightforward – I simply add my newly-created packages to the deployment share along with the certificate I created (you can also see App-V packages in here as well, as AppVentix is ideal for deployment of those too!)

The only thing you then have to do is create a publishing task for each MSIX package. MSIX doesn’t have a global publishing option like App-V, so you can’t just pop them in the content share and get them instantly deployed everywhere. However, if you did want them deployed en masse, then simply create a publishing task and apply it to a group like Domain Users. On the other hand, targeting in this way also allows you to deliver specific packages to specific user groups, so it is very granular and easy to deploy.
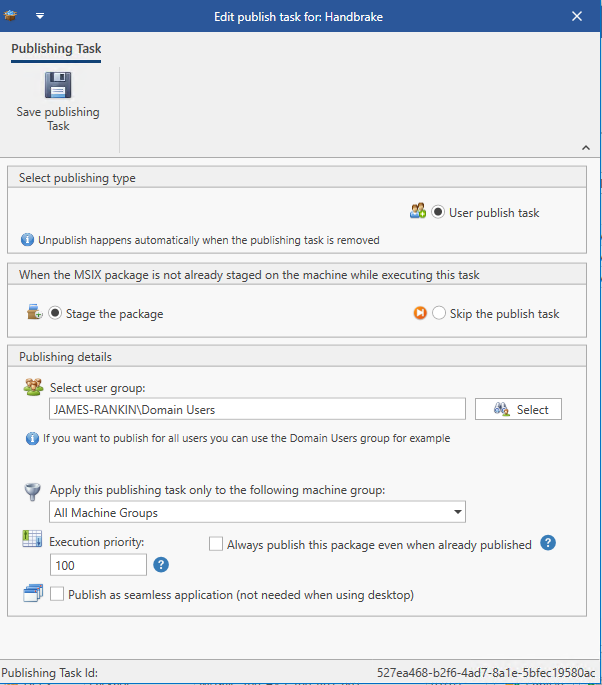
That’s literally all there is to it, although there are many options you can use to customize this even further. But it’s nice and easy to target my MSIX packages to my different user sets, and they all seem to run fine (although admittedly I haven’t been too ambitious with my packaging just yet!)
Converting App-V packages to MSIX
I also have a mountain of old App-V packages that it would be nice to convert to MSIX. How easy is it to achieve this?
Well, if you use AppVentix it is very easy (ridiculously easy, in fact). First of all, simply select your target App-V package in the AppVentix console.
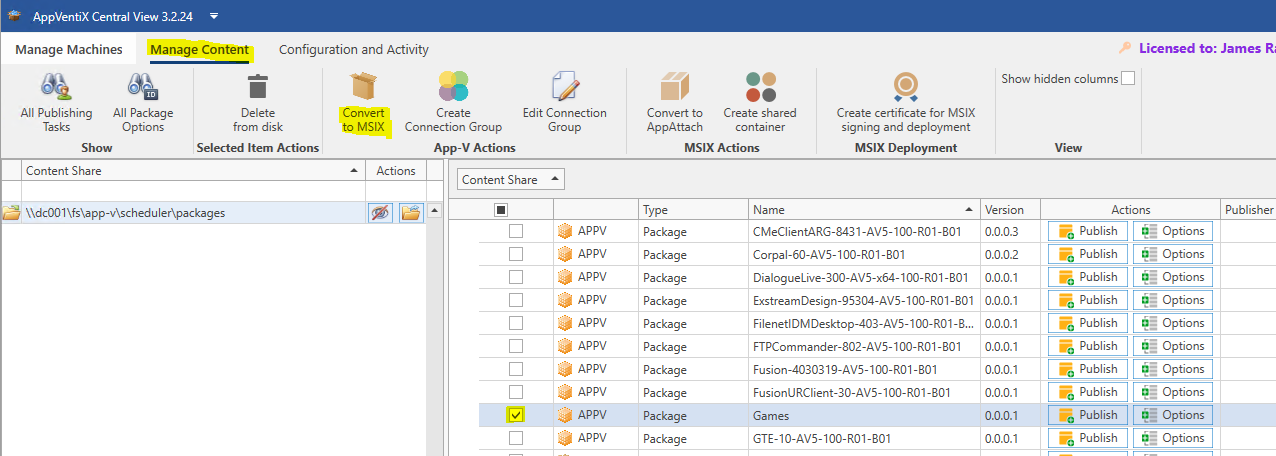
Check the box next to the package and then simply choose the Convert to MSIX option. As stipulated before, it makes sense to choose a certificate to sign it with, which you can create and deploy also through AppVentix.
The main pre-requisite for converting using AppVentix is simply that the MSIX Packaging Tool must be installed on the same machine you are running the AppVentix Central View console from. It will check for it before commencing, and it can be installed from this link if necessary.
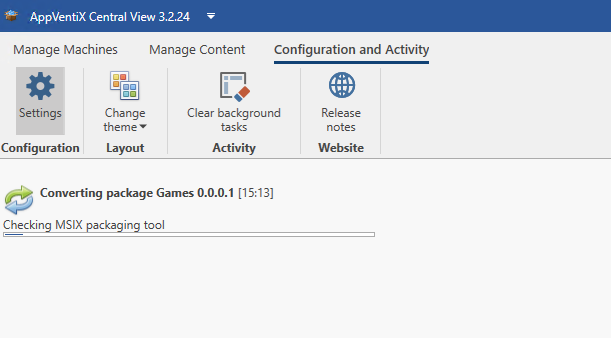
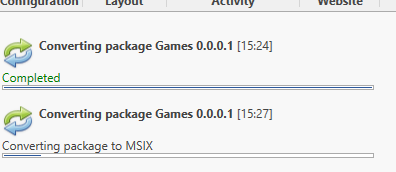
The conversion happens straight away with no admin interaction whatsoever, and dependent on the package size, should finish fairly quickly.
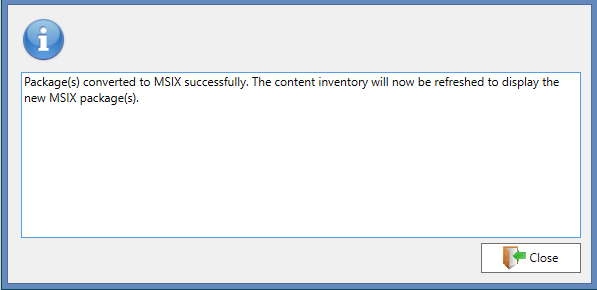
The MSIX package is created in a subfolder of the original App-V package, so you may need to move the MSIX package if you’re planning on deleting the App-V folder from your content share (which you probably would, if the conversion was successful).
And that is it – nothing more required, except to wait for AppVentix to deploy your converted package to your devices (which will happen at the next scheduled poll).
One slight drawback is that AppVentix can’t deploy or convert App-V 4.x packages, so if you’re working with App-V 4.x, you either take a two-stage approach (using the standard ConvertFrom-AppvLegacyPackage PS cmdlet in a script to convert to 5.1, then use AppVentix), or simply revisit the packaging process entirely and package the original source files directly into MSIX (assuming you still have the source files).
MSIX and MSIX App Attach
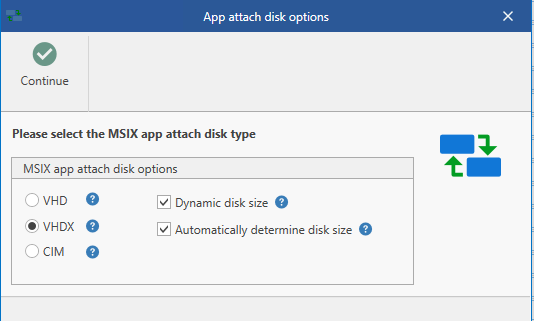
Many people wonder what the difference is between MSIX and MSIX App Attach. Well, put simply, App Attach allows you to distribute and deploy the MSIX packages as a disk file such as VHD or VHDX, which is mounted across the network like an FSLogix or UPM container. This means that the MSIX package doesn’t have to be cached locally onto the machine.
AppVentix also helps with App Attach, as you can simply select one of your existing MSIX packages in the console and choose the Convert to App Attach function. This will create a virtual disk of your MSIX package and store it in the content share. You can mix and match MSIX and App Attach – so some apps can be held locally and others distributed as virtual disks from network shares.
Shared containers
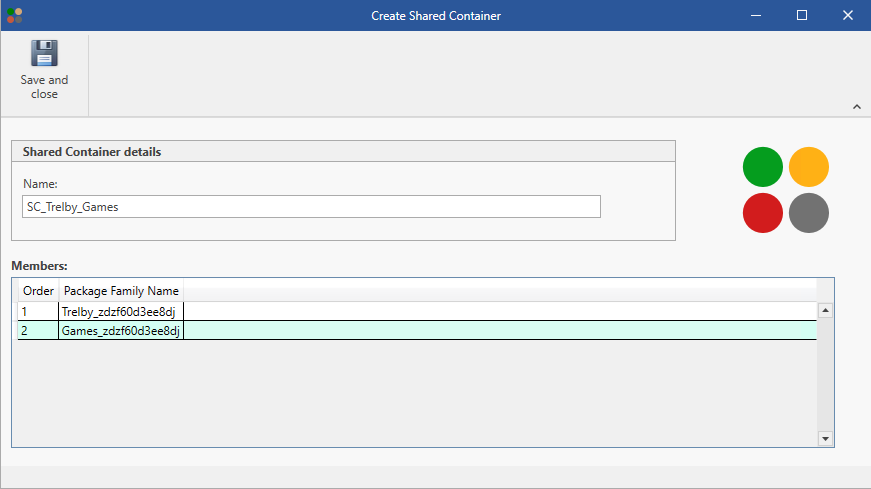
There is also the concept of Shared Containers, which essentially behave like App-V Connection Groups. The theory is, two or more MSIX packages are merged together so they can access a shared runtime, having access to each others files and Registry items. You can read more about the concept here. Shared Containers are only supported on Windows 10 21H1+ or Server 2022.
AppVentix also helps with this, as you can simply select multiple MSIX packages in the console and merge them directly, cutting out all of the faffing with XML that you get when doing it natively.
FSLogix App Masking
And finally, AppVentix is really handy because it can also deploy your FSLogix App Masking rules for you, and allow you to edit them directly from the AppVentix Central View Console! FSLogix has long lacked a “proper” centralized console, and while it’s easy enough to fill the hole with GPOs or such like, AppVentix gives you a single view with integrated access to the Rules Editor and allows you to use AppVentix’s native features to target the deployments. Pop the rules in the content share, configure your targeting, and the job is done.
One small caveat to note is that if you use MSIX and FSLogix together via AppVentix, you need to enable the “Persist MSIX data at logoff” setting in AppVentix, and also make sure to add the following to your FSLogix redirections file (configured via policy).
<?xml version="1.0" encoding="UTF-8"?>
<FrxProfileFolderRedirection ExcludeCommonFolders="0">
<Excludes>
<Exclude
Copy="0">AppData\Local\Packages\Microsoft.Windows.StartMenuExperienceHost_cw5n1h2txyewy
\TempState</Exclude>
<Exclude Copy="0">AppData\Local\Packages</Exclude>
</Excludes>
</FrxProfileFolderRedirection>
Summary
MSIX and App Attach are promising technologies. Whilst I’m long in the tooth enough to know that NO packaging tool will ever achieve 100% coverage, the fact that Microsoft are developing such a tool, and also providing it with capabilities that suit RDSH or VDI environments, feels like a big plus. If we can start to move towards a standard packaging methodology that can be used across all environments, virtual and physical, then some of the pain will start to ease out of application deployment.
Right at this moment, though, MSIX is fairly immature in terms of deployment capability and flexibility, which is why I always lean on AppVentix. It’s easy to use, inexpensive, and does a lot more than just the MSIX stuff (I swear by it for App-V and deployment of non-core apps in general).
I’m only really scratching the surface of what you can do with AppVentix, but let’s leave some of the more advanced stuff for another day. It can do things like image mode detection, so you only update your apps when a provisioned image is in private mode for updates, for instance, you can selectively pre-cache applications, you can disable logons until caching is complete, etc.
Hopefully this post may be useful to those of you that haven’t dipped their toes in the MSIX water yet – stay tuned for more stuff coming very soon.
![]()
Hi James,
Once deployed to our servers what would we do to get the applications to show on Citrix Storefront?
We have AppVentix as you describe above, and running windows 2019 servers.
Thanks
Walter
Are you wanting to do published applications of MSIX packages?
for publishing app-v applications on Citrix, you could export the cmdline for the published app from Appventix, I assume something similar could also be done for msix packages..
and I assume, with the new powershell module being available, you could even export the cmdline to be used in the published application using powershell